


Snap goes the shutter on your camera or maybe the audio file on your phone. Then the picture emerges. It is flat, dull, and unimaginative. Creating the perfect picture is the responsibility of the photographer, not the device or subject. By following a few of the following steps, anyone can take an excellent photograph and rival that of the professionals.
The 5 tips-
Proper Shutter Speed- the longer you have the shutter open, the more blurred and bright your picture will be. There are even these effects on your mobile device. If you are taking a picture of moving objects, then allowing the shutter to remain open longer will cause a blurry movement in lights or a smoother look to the water. This open shutter will also enable a brighter picture if there is not much light and you don’t want to use a flash. Allowing the shutter speed to be quick will give you the great action shot that makes something to appear being frozen in time such as the sport’s shot of the athlete hanging in mid-air (of course, this will cause a darker picture so make sure you have plenty of light).
[caption id=“attachment_8595” align=“aligncenter” width=“600”]
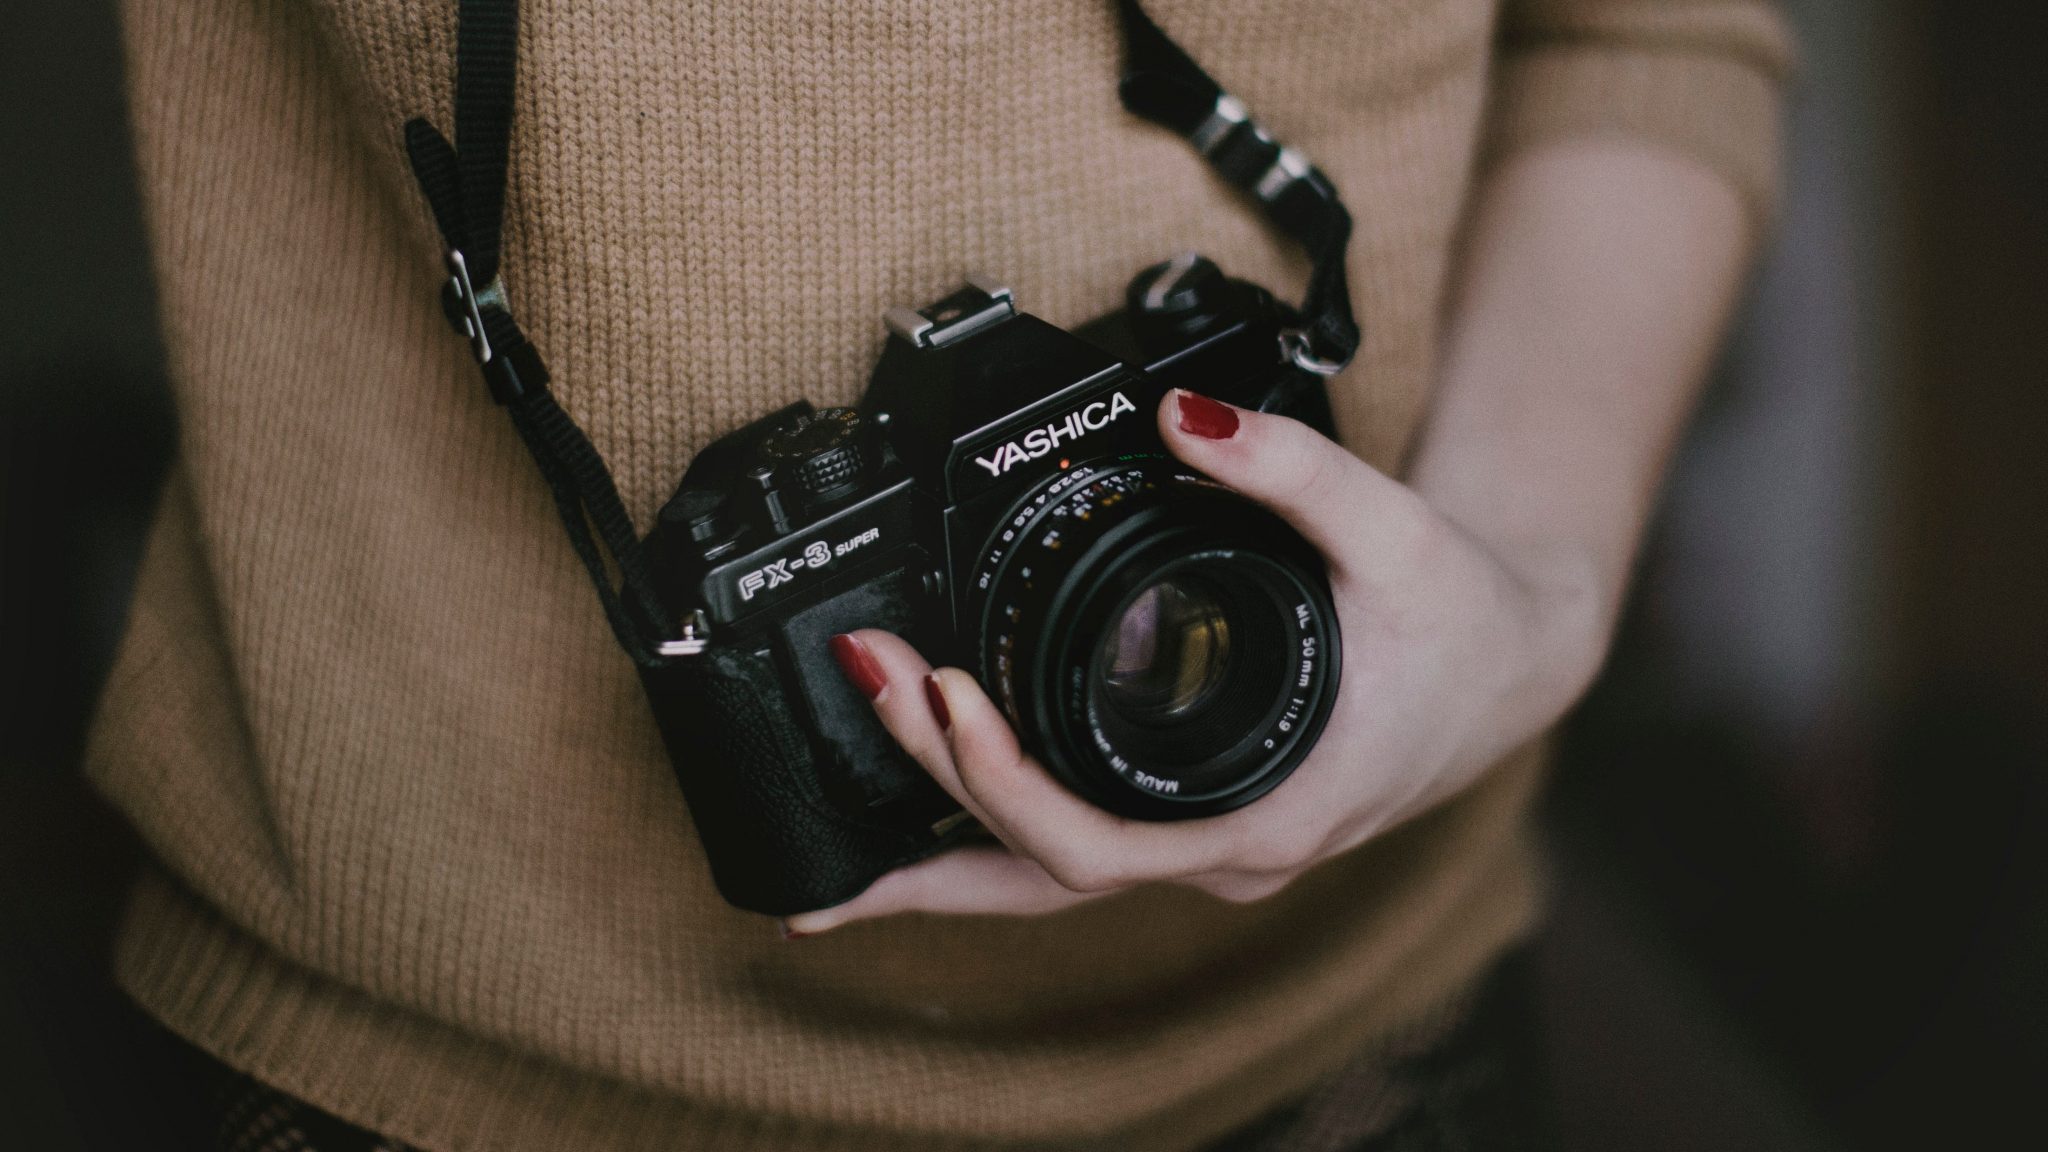
 via pixabay[/caption]
Correct Aperture- This will result in different focusing (also manage your light intake) by causing all objects to be clear and accented or allowing only one object to be focused while the others appear blurry.
[caption id=“attachment_8596” align=“aligncenter” width=“600”]
 via pixabay[/caption]
Implement Framing- Make sure to frame your shot. Subjects are better framed toward the side of the picture versus the center of the picture. This gives the shot the feel of having a backstory, whereas a centered shot tends to be artificial and screams that it was posed.
[caption id=“attachment_8597” align=“aligncenter” width=“600”]
 via pixabay[/caption]
Creative Focus- Focusing in on one object and allowing others to remain blurry is like having a spotlight that doesn’t use light. It compels the viewer to center in on the object on which you intend for them to look. However, sometimes distraction works in your favor. In other words, focusing on an object that is secondary to your “story,” especially if your primary subject is a person, will indirectly cause the viewer to concentrate on the person while giving your photograph a striking element of the exotic.
[caption id=“attachment_8598” align=“aligncenter” width=“600”]
 © Bryan Northcutt[/caption]
Spectacular Portraits- One of the common mistakes that many photographers make when taking a portrait (especially at the DMV) is to take the shot at mid or low-level angle. By taking it at a lower level, the subject’s face will always appear plumper than it is. Shooting the subject at a mid or standard level will cause the subject to appear possibly heavier but also unappealing. If taking a picture of someone, it is always best to use a slightly elevated position which removes that illusion of beefiness. Another tip would be not to have the subject look directly at the camera, but looking at something else or in a different direction. This technique will insert that backstory element to the shot that is extremely valuable. Remember, the closer the camera is to a person’s face the better they usually look, except for blemishes (though they can be edited out). Far away shots tend to diminish the person’s natural beauty, but you must strike the right balance.
[caption id=“attachment_8599” align=“aligncenter” width=“600”]
 © Bryan Northcutt[/caption]