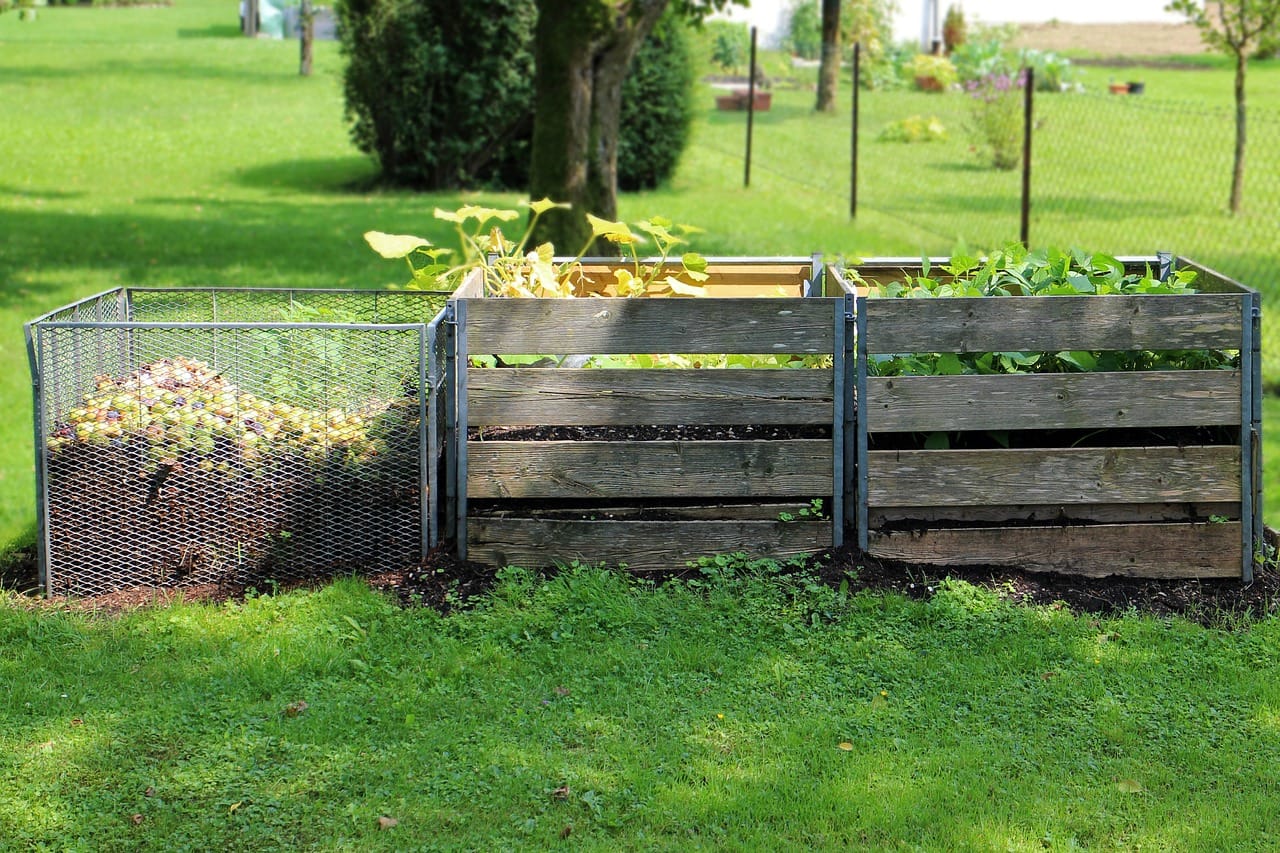
Worm composting is one of those ideas that has been around for centuries yet for many home gardeners it’s a new concept. For further information on worm composting check the website of our friends at www.redwormfarms.com. This article will show you specifically how to start with indoor worm composting. Worms speed up the composting process and it’s easy to start indoors.
Worms eat food scraps, which become compost as they pass through the worm’s body. This nutrient-rich compost is harvested and used as plant food. The process recycles food waste, improves soil structure, and promotes plant growth and production.
Learn how to start an indoor worm composting system in your home so your garden will grow better.
Use 2 Containers
You will need 2 containers for worm composting - one for holding the worms and the other one for containing nutrient-rich liquid that drains out of the worm compost.
The bottom container needs to be shallow and larger than the top container. The smaller container will sit inside the larger container. A lid is not needed for the bottom container but you will need a lid for the top container.
Two plastic bins are often used to contain the worms and their liquid ‘worm tea’. Recycling used bins or similar containers for worm composting indoors will be ideal.
Prepare Containers
Drill a 1-inch hole 2-inches from the top of the tallest container on each side for airflow. Drill four 1/8-inch holes near the bottom corners of the container to allow liquids to drain out.
Cover each hole on the outside of the container with a piece of vinyl screening and glue into place with the waterproof glue. Allow the glue to completely dry before continuing.
Place the tallest container inside the shorter container. Do not drill holes in the shortest container.
Add Ingredients
Tear small strips of newspaper (black and white print only) and cover the bottom 3-inches of the largest container with it.
Sprinkle 1-pound of dirt on top of the newspaper. This can be potting soil or garden dirt, as long as it does not contain chemicals.
Sprinkle water on top and stir the ingredients together. The newspaper and soil need to be moist but not soggy wet.
Add worms. Do not feed worms for 2 days so they can adjust to their new environment.
Feeding Worms
Save fruit and vegetable food scraps in a small lidded container and feed worms once a week. Save food scraps, like vegetable and fruit scraps, bread, tea bags, coffee grounds, and cereal, and place in the container. All food waste is good for the worms except dairy, fat, and meat products.
Once a week life the lid off the top container and create a hole in the center of the worm compost with a garden trowel. Place a handful of shredded newspaper in the hole then place all the food scraps on top of the newspaper.
Cover all the food scraps with more dirt to prevent odor. Do this weekly until the container is filled with worm compost.
Using the Worm Compost
When the container is almost full of worm compost, start feeding the worms on one side of the container instead of in the center. This will draw the worm to that end of the container so harvesting the worm compost will be easier.
When the worms are on one side (about 2 weeks), harvest the compost on the other side of the container and use it to feed indoor or outdoor plants. Sprinkle the worm compost on top of the soil to give plants a nutrient-rich organic meal.
The ‘worm tea’ that collects in the bottom container can be harvested and used at any time. Use full-strength worm tea on outdoor food-producing plants, dilute the worm tea with water at a 50/50 ratio to feed to house plants.


